Understanding Common Mini Cooper Issues:
Owning a Mini Cooper is a unique experience, dare we say, “cult-like” experience, blending style, performance, and that unmistakable charm. However, like any vehicle, Minis have their share of common issues that can arise over time. We have seen firsthand the recurring problems that many Mini owners face. Understanding these issues can help you stay ahead of potential problems and keep your Mini Cooper running smoothly.
1. Timing Chain Issues
Understanding the Timing Chain Issue
The timing chain is a crucial component in your Mini Cooper's engine. It synchronizes the rotation of the crankshaft and camshaft, ensuring that the engine's valves open and close at the correct times during each cylinder's intake and exhaust strokes. Unlike timing belts, which need periodic replacement, timing chains are designed to last the life of the engine. However, in some Mini Cooper models, the timing chain and its associated components have been known to fail prematurely.
Common Symptoms of Timing Chain Problems
- Rattling Noise: One of the most common and recognizable symptoms of a failing timing chain is a rattling noise coming from the engine bay. This noise is often most noticeable during cold starts or when the engine is idling.
- Check Engine Light: A faulty timing chain can trigger the check engine light on your dashboard. This is often accompanied by diagnostic trouble codes (DTCs) related to camshaft position or timing.
- Engine Misfires: If the timing chain stretches or the tensioner fails, it can cause the engine to misfire. This can result in rough idling, poor acceleration, and reduced fuel efficiency.
- Oil Contamination: In some cases, fragments from a worn timing chain or tensioner can contaminate the engine oil, leading to further damage if not addressed promptly.
Causes of Timing Chain Issues
Several factors contribute to timing chain problems in Mini Coopers:
- Design Flaws: Some models, particularly those with the N14 engine, have inherent design flaws in the timing chain and tensioner system. These flaws can lead to premature wear and failure.
- Lack of Maintenance: Neglecting regular oil changes and using low-quality oil can accelerate the wear of the timing chain and its components. Clean and properly lubricated parts are essential for longevity.
- High Mileage: As with any mechanical component, the timing chain can wear out over time, especially in high-mileage vehicles. Regular inspections and maintenance are crucial for older Mini Coopers.
Addressing Timing Chain Issues
If you suspect your Mini Cooper has a timing chain problem, it's essential to address it promptly to avoid severe engine damage. Here are the steps to take:
- Professional Diagnosis: Bring your Mini Cooper to a qualified mechanic who specializes in these vehicles. They can perform a thorough inspection and diagnostic tests to confirm the issue.
- Timing Chain Replacement: If the timing chain, tensioner, or other related components are found to be faulty, they will need to be replaced. This is a complex job that requires expertise and the right tools.
- Regular Maintenance: To prevent future issues, adhere to a strict maintenance schedule. Regular oil changes with high-quality oil, timely inspections, and using genuine Mini Cooper parts can help extend the life of your timing chain.
Preventive Measures
While some timing chain issues are due to design flaws, there are steps you can take to minimize the risk:
- Stay Informed: Keep up-to-date with any recalls or technical service bulletins (TSBs) related to your Mini Cooper model. Manufacturers often release these notices to address known issues.
- Listen and Observe: Pay attention to any unusual noises, warning lights, or changes in your vehicle's performance. Early detection can prevent minor problems from becoming major repairs.
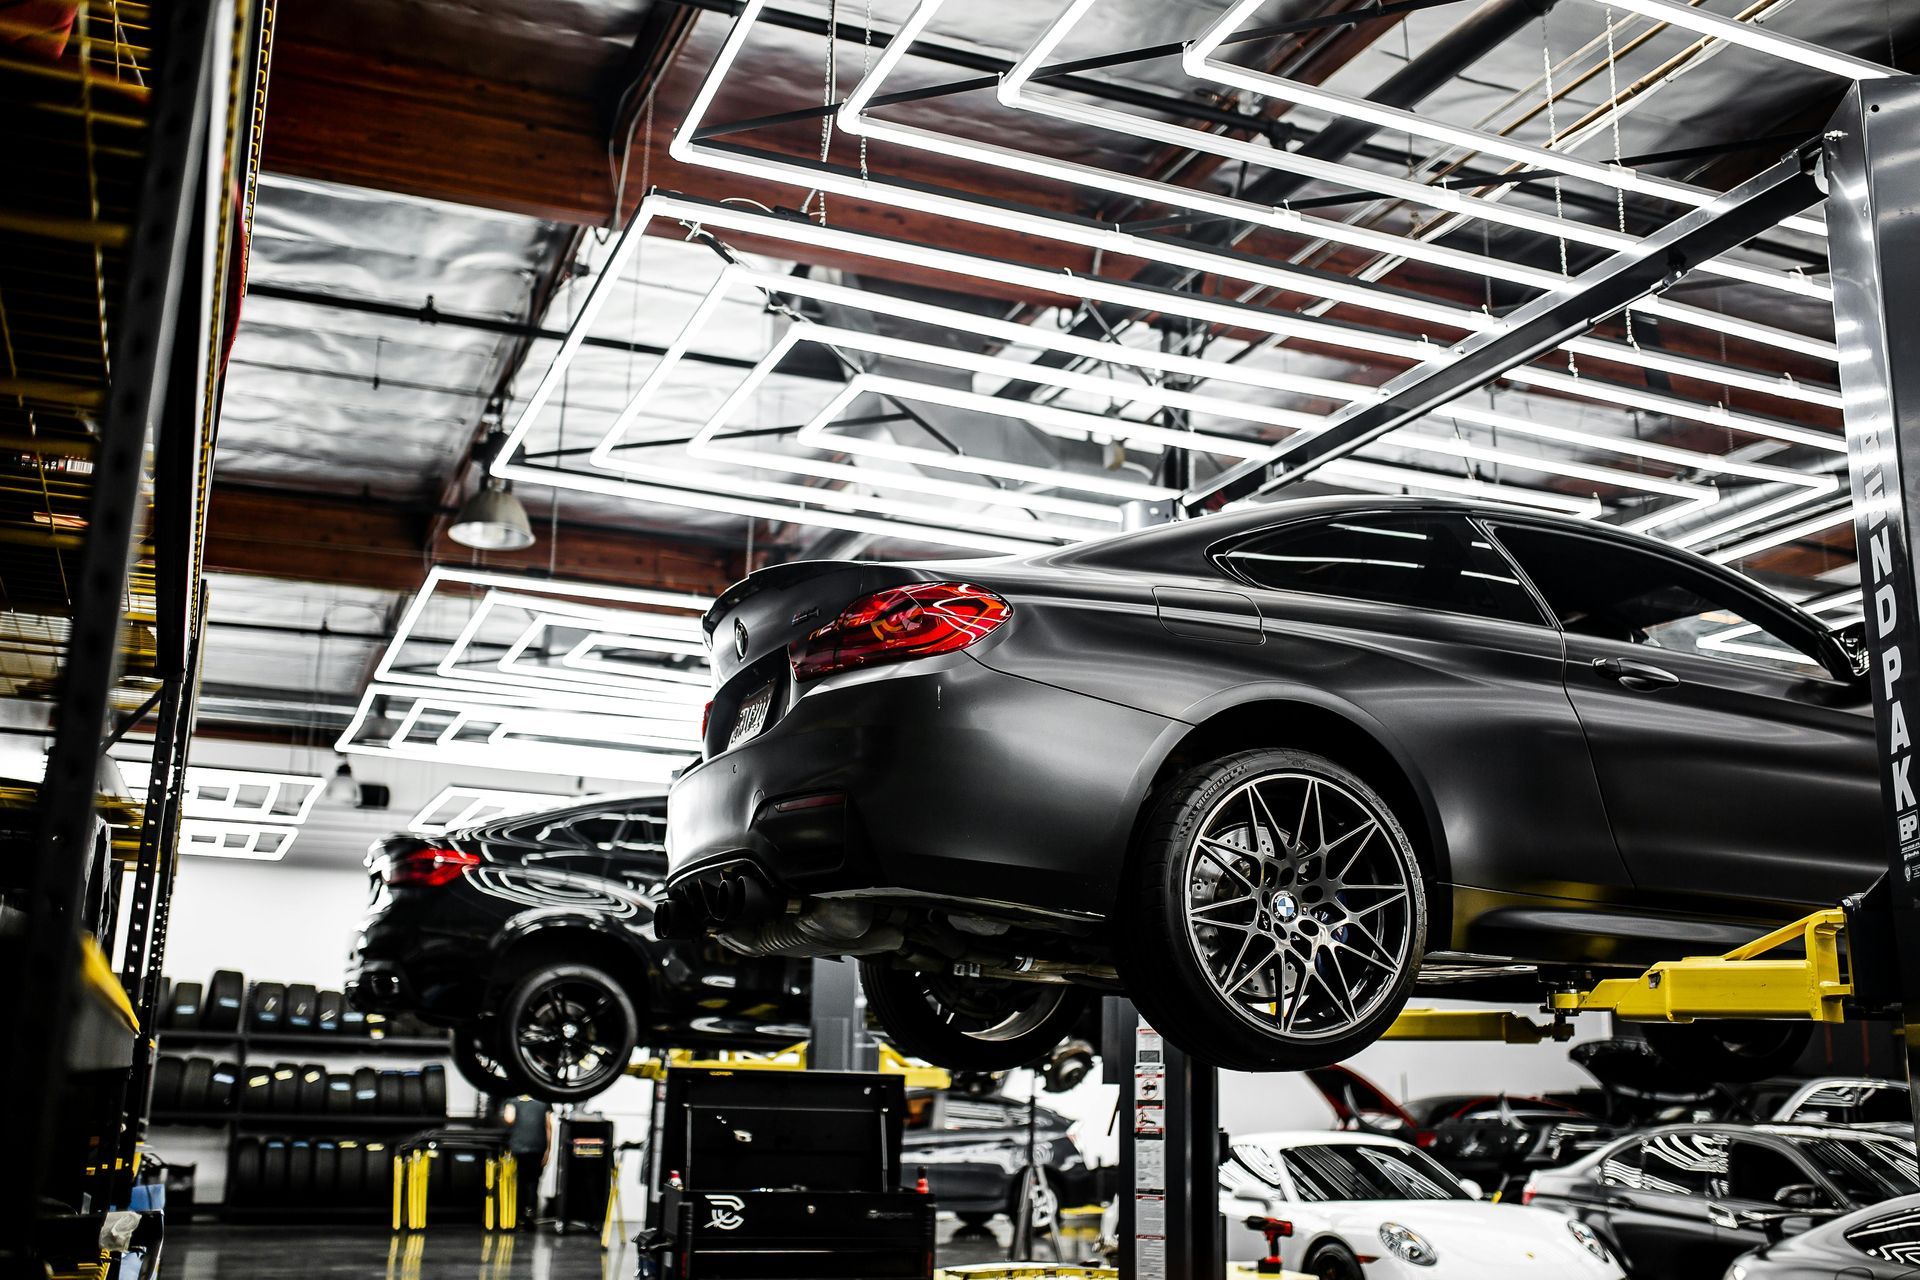
- Choose the Right Mechanic: Work with a mechanic who has experience with Mini Coopers. Their expertise can make a significant difference in diagnosing and addressing timing chain issues effectively. At TMJ Bimmers, our technicians have over 20 years of combined experience with Mini Cooper service and repair.
2. Thermostat Housing Leaks
Understanding the Thermostat Housing
The thermostat housing is a critical component of your Mini Cooper's cooling system. It houses the thermostat, which regulates the flow of coolant between the engine and the radiator. The thermostat ensures that the engine maintains an optimal operating temperature by opening and closing as needed. The housing itself acts as a seal to prevent coolant from leaking out.
Common Symptoms of Thermostat Housing Leaks
- Coolant Leaks: The most obvious symptom is a visible coolant leak. You may notice a puddle of coolant under your car or see coolant dripping from the front of the engine.
- Overheating Engine: A leaking thermostat housing can lead to insufficient coolant levels, causing your engine to overheat. This can result in the temperature gauge rising and warning lights appearing on your dashboard.
- Low Coolant Warning: Many Mini Coopers are equipped with a low coolant warning light. If this light comes on, it's a clear indication that your coolant level is low, possibly due to a leak.
- Sweet Smell: Coolant has a sweet smell. If you detect this odor around your car, it could be a sign of a leak.
Causes of Thermostat Housing Leaks
Several factors can contribute to thermostat housing leaks in Mini Coopers:
- Material Degradation: The thermostat housing in some Mini Cooper models is made of plastic. Over time, exposure to high temperatures and pressure can cause the plastic to crack or warp, leading to leaks.
- Poor Seals: The gasket or seal between the thermostat housing and the engine block can degrade over time. A failing gasket can no longer provide a proper seal, allowing coolant to escape.
- Manufacturing Defects: Some Mini Cooper models may have inherent manufacturing defects that make the thermostat housing more prone to leaking. This is particularly true for certain model years.
Addressing Thermostat Housing Leaks
If you suspect a thermostat housing leak in your Mini Cooper, it's crucial to address it promptly to prevent engine damage. Here's what you should do:
- Professional Inspection: Bring your Mini Cooper to a qualified mechanic who specializes in these vehicles. They can perform a thorough inspection to confirm the leak and identify its source.
- Thermostat Housing Replacement: If the thermostat housing is cracked or damaged, it will need to be replaced. This is a relatively straightforward repair but requires expertise to ensure proper installation.
- Gasket Replacement: If the leak is due to a failing gasket, replacing the gasket can restore the proper seal and stop the leak. Your mechanic will ensure the new gasket is correctly installed to prevent future leaks.
Preventive Measures
To minimize the risk of thermostat housing leaks, consider these preventive measures:
- Regular Inspections: During routine maintenance, have your mechanic inspect the thermostat housing and cooling system. Early detection of potential issues can prevent major repairs.
- Use Quality Parts: When replacing the thermostat housing or gasket, use high-quality, genuine Mini Cooper parts. This ensures better durability and compatibility.
- Monitor Coolant Levels: Regularly check your coolant levels and top up as needed. Low coolant levels can lead to overheating and damage to the thermostat housing.
- Pay Attention to Warning Signs: If you notice any symptoms of a leak, such as coolant puddles, overheating, or warning lights, don't ignore them. Prompt action can prevent more severe problems.
3. Clutch Failure
Understanding the Clutch System
The clutch system in your Mini Cooper allows you to engage and disengage the engine from the transmission to change gears smoothly. It consists of several components, including the clutch disc, pressure plate, flywheel, and release bearing. These components work together to ensure seamless gear changes and efficient power transfer from the engine to the wheels.
Common Symptoms of Clutch Failure
- Slipping Clutch: If the clutch is slipping, you'll notice a loss of acceleration despite increasing engine RPMs. This can occur during gear changes or when driving uphill.
- Difficulty Shifting Gears: A failing clutch can make it challenging to shift gears. You might experience resistance or grinding noises when attempting to change gears.
- Soft or Spongy Clutch Pedal: If the clutch pedal feels unusually soft or spongy, it could indicate a problem with the clutch hydraulic system or worn components.
- Burning Smell: A burning smell, particularly after using the clutch heavily, can indicate excessive friction and overheating within the clutch system.
- Unusual Noises: Grinding, squealing, or chirping noises when pressing the clutch pedal or changing gears can signal a failing clutch.
Causes of Clutch Failure
Several factors can contribute to clutch failure in Mini Coopers:
- Wear and Tear: Clutch components naturally wear out over time due to regular use. High mileage and frequent stop-and-go driving can accelerate this wear.
- Aggressive Driving: Driving habits, such as riding the clutch, abrupt gear changes, or aggressive acceleration, can cause premature clutch wear.
- Hydraulic System Issues: Problems with the clutch hydraulic system, such as leaks or air in the lines, can affect clutch performance and lead to failure.
- Improper Installation: If the clutch was not installed correctly during a previous repair, it can lead to premature failure and other issues.
Addressing Clutch Failure
If you suspect your Mini Cooper has a clutch problem, it's essential to address it promptly to avoid further damage and ensure safe driving. Here's what you should do:
- Professional Diagnosis: Bring your Mini Cooper to a qualified mechanic who specializes in these vehicles. They can perform a thorough inspection and diagnostic tests to confirm the issue.
- Clutch Replacement: If the clutch is worn or damaged, it will need to be replaced. This involves removing the transmission and replacing the clutch disc, pressure plate, release bearing, and sometimes the flywheel.
- Hydraulic System Check: Ensure the clutch hydraulic system is inspected for leaks, air bubbles, and proper fluid levels. Any issues should be addressed to restore optimal clutch performance.
Preventive Measures
To minimize the risk of clutch failure, consider these preventive measures:
- Regular Maintenance: Adhere to a regular maintenance schedule, including checking and replacing clutch fluid as needed. Routine inspections can help identify potential issues early.
- Proper Driving Habits: Avoid riding the clutch, abrupt gear changes, and excessive slipping. Use the clutch only when necessary and engage gears smoothly.
- Use Quality Parts: When replacing clutch components, use high-quality, genuine Mini Cooper parts to ensure better durability and compatibility.
- Monitor Symptoms: Pay attention to any changes in clutch performance, such as slipping, difficulty shifting, or unusual noises. Early detection can prevent minor problems from becoming major repairs.
4. Water Pump and Thermostat Failures
The Role of the Water Pump and Thermostat
The water pump and thermostat are integral parts of your Mini Cooper's cooling system. The water pump circulates coolant throughout the engine and radiator, ensuring that the engine does not overheat. The thermostat regulates the flow of coolant based on the engine's temperature, opening and closing to maintain the ideal operating temperature.
Common Symptoms of Water Pump and Thermostat Failures
- Overheating Engine: One of the most common symptoms is an overheating engine. If the water pump or thermostat fails, the coolant may not circulate properly, causing the engine to overheat.
- Coolant Leaks: A failing water pump can lead to coolant leaks. You may notice puddles of coolant under your car or a drop in coolant levels without visible leaks.
- High Temperature Gauge: If the temperature gauge on your dashboard rises above the normal range, it could indicate a problem with the water pump or thermostat.
- Unusual Noises: A failing water pump may produce a whining or grinding noise from the engine bay. This noise typically indicates a worn bearing or other internal damage.
- Poor Heater Performance: If the thermostat is stuck open, the engine may not reach the optimal temperature, resulting in poor heater performance inside the car.
Causes of Water Pump and Thermostat Failures
Several factors can contribute to water pump and thermostat failures in Mini Coopers:
- Wear and Tear: Over time, the internal components of the water pump and thermostat can wear out. High mileage and age can accelerate this wear, leading to failure.
- Coolant Contamination: Using low-quality or incorrect coolant can cause deposits and corrosion within the cooling system, leading to damage and failure of the water pump and thermostat.
- Poor Maintenance: Neglecting regular maintenance, such as coolant flushes and system inspections, can result in premature failure of these components.
- Manufacturing Defects: Some Mini Cooper models may have inherent manufacturing defects that make the water pump and thermostat more prone to failure.
Addressing Water Pump and Thermostat Failures
If you suspect an issue with your Mini Cooper's water pump or thermostat, it's essential to address it promptly to avoid further engine damage. Here's what you should do:
- Professional Diagnosis: Bring your Mini Cooper to a qualified mechanic who specializes in these vehicles. They can perform a thorough inspection and diagnostic tests to confirm the issue.
- Water Pump Replacement: If the water pump is found to be faulty, it will need to be replaced. This involves draining the coolant, removing the old pump, and installing a new one.
- Thermostat Replacement: If the thermostat is failing, it will also need to be replaced. This involves removing the old thermostat and installing a new one, ensuring proper sealing to prevent leaks.
- Coolant System Flush: After replacing the water pump or thermostat, it's a good idea to flush the cooling system to remove any contaminants and ensure optimal performance.
Preventive Measures
To minimize the risk of water pump and thermostat failures, consider these preventive measures:
- Regular Maintenance: Adhere to a regular maintenance schedule, including coolant flushes and system inspections. Routine maintenance can help identify potential issues early.
- Use Quality Coolant: Always use the recommended type and quality of coolant for your Mini Cooper. Using the correct coolant helps prevent corrosion and deposits within the cooling system.
- Monitor Symptoms: Pay attention to any changes in engine temperature, coolant levels, or unusual noises. Early detection can prevent minor problems from becoming major repairs.
- Choose the Right Mechanic: Work with a mechanic who has experience with Mini Coopers. Their expertise can make a significant difference in diagnosing and addressing water pump and thermostat issues effectively.
5. Power Steering Pump Issues
Understanding the Power Steering Pump
The power steering pump is a crucial component of your Mini Cooper's power steering system. It provides hydraulic pressure to assist with steering, making it easier to turn the wheel, especially at low speeds. In earlier Mini Cooper models, this pump is often electric/hydraulic whereas the later models are all electric, with both approaches having their own challenges.
Common Symptoms of Power Steering Pump Issues
- Whining or Squealing Noise: A common symptom of a failing power steering pump is a whining or squealing noise when you turn the steering wheel. This noise is often due to a lack of fluid or worn-out pump components.
- Stiff Steering: If you find it difficult to turn the steering wheel, especially at low speeds, it could indicate a problem with the power steering pump.
- Leaking Power Steering Fluid: If you notice power steering fluid leaking from the pump or lines, it's a clear sign of a problem. Low fluid levels can lead to pump failure.
- Power Steering Failure Warning Light: Some Mini Coopers have a warning light on the dashboard that indicates issues with the power steering system. If this light comes on, have your vehicle inspected immediately.
- Intermittent Power Steering Loss: If the power steering assistance cuts out intermittently, it could be due to a failing electric power steering pump or a problem with the electrical connections.
Causes of Power Steering Pump Issues
Several factors can contribute to power steering pump issues in Mini Coopers:
- Wear and Tear: Over time, the internal components of the power steering pump can wear out, especially in high-mileage vehicles.
- Fluid Contamination: Contaminated or low-quality power steering fluid can cause damage to the pump and other components of the steering system.
- Leaking Seals: The seals within the power steering pump can degrade over time, leading to fluid leaks and reduced hydraulic pressure.
- Electrical Problems: In models with electric power steering pumps, electrical issues such as faulty wiring or connectors can cause intermittent or complete pump failure.
- Poor Maintenance: Neglecting regular maintenance, such as checking and topping up power steering fluid, can accelerate wear and lead to pump failure.
Addressing Power Steering Pump Issues
If you suspect your Mini Cooper has a power steering pump issue, it's essential to address it promptly to avoid further damage and ensure safe driving. Here's what you should do:
- Professional Diagnosis: Bring your Mini Cooper to a qualified mechanic who specializes in these vehicles. They can perform a thorough inspection and diagnostic tests to confirm the issue.
- Power Steering Pump Replacement: If the power steering pump is found to be faulty, it will need to be replaced. This involves draining the power steering fluid, removing the old pump, and installing a new one.
- Fluid Flush: After replacing the power steering pump, it's essential to flush the power steering system to remove any contaminants and ensure optimal performance.
- Electrical System Check: For models with electric power steering pumps, ensure that the electrical system is thoroughly inspected. Address any wiring or connector issues to prevent future problems.
Preventive Measures
To minimize the risk of power steering pump issues, consider these preventive measures:
- Regular Maintenance: Adhere to a regular maintenance schedule, including checking and topping up power steering fluid as needed. Routine inspections can help identify potential issues early.
- Use Quality Fluid: Always use the recommended type and quality of power steering fluid for your Mini Cooper. Using the correct fluid helps prevent contamination and ensures optimal pump performance.
- Monitor Symptoms: Pay attention to any changes in steering feel, unusual noises, or warning lights. Early detection can prevent minor problems from becoming major repairs.
- Choose the Right Mechanic: Work with a shop like TMJ Bimmers who employ experienced Mini Cooper technicians. Their expertise can make a significant difference in diagnosing and addressing power steering pump issues efficiently and effectively.
6. Transmission Problems
Understanding the Transmission
The transmission in your Mini Cooper can be either manual or automatic. It includes various components such as gears, clutches (in manual transmissions), torque converters (in automatic transmissions), and fluid systems that all work together to ensure smooth and efficient power delivery to the wheels.
Common Symptoms of Transmission Problems
- Slipping Gears: If your transmission slips out of gear while driving or has trouble staying in gear, this is a clear sign of a problem.
- Rough Shifting: Hard or delayed shifts, whether upshifting or downshifting, indicate potential transmission issues. This can be felt as a jolt or clunk when changing gears.
- Transmission Fluid Leaks: Finding transmission fluid (typically red or brown) under your car can indicate a leak, which can lead to low fluid levels and transmission damage.
- Unusual Noises: Whining, clunking, or humming noises coming from the transmission area can signal internal damage or worn components.
- Check Engine Light: In many modern Mini Coopers, transmission problems can trigger the check engine light. Diagnostic trouble codes (DTCs) can provide more information about the issue.
- Burning Smell: A burning smell, especially if it's accompanied by transmission fluid leaks, can indicate overheating or burning fluid, which is often due to internal transmission problems.
Causes of Transmission Problems
Several factors can contribute to transmission problems in Mini Coopers:
- Wear and Tear: Over time, the components within the transmission can wear out due to regular use, particularly in high-mileage vehicles.
- Fluid Contamination: Using low-quality or incorrect transmission fluid can cause deposits and corrosion within the transmission, leading to damage.
- Low Fluid Levels: Insufficient transmission fluid can cause overheating and increased friction, resulting in internal damage.
- Mechanical Failure: Internal components such as gears, bearings, and clutches can fail due to wear, manufacturing defects, or improper maintenance.
- Electrical Issues: For automatic transmissions, problems with the electronic control unit (ECU) or sensors can cause shifting issues and other problems.
Addressing Transmission Problems
If you suspect your Mini Cooper has a transmission problem, it's essential to address it promptly to avoid further damage and ensure safe driving. Here's what you should do:
- Professional Diagnosis: Bring your Mini Cooper to a qualified mechanic who specializes in these vehicles. They can perform a thorough inspection, including diagnostic tests, to confirm the issue.
- Transmission Fluid Check: Ensure that your transmission fluid is at the proper level and in good condition. If it's low or contaminated, a fluid change or flush may be necessary.
- Repair or Replace Components: Depending on the diagnosis, specific components within the transmission may need repair or replacement. This could include clutches, gears, solenoids, or other parts.
- Transmission Rebuild or Replacement: In severe cases, a complete transmission rebuild or replacement may be required. This is a complex and costly repair but can restore your Mini Cooper's performance.
Preventive Measures
To minimize the risk of transmission problems, consider these preventive measures:
- Regular Maintenance: Adhere to a regular maintenance schedule, including checking and changing transmission fluid as needed. Routine inspections can help identify potential issues early.
- Use Quality Fluid: Always use the recommended type and quality of transmission fluid for your Mini Cooper. Using the correct fluid helps prevent contamination and ensures optimal performance.
- Monitor Symptoms: Pay attention to any changes in shifting behavior, unusual noises, or warning lights. Early detection can prevent minor problems from becoming major repairs.
- Avoid Aggressive Driving: Driving habits such as hard shifting, rapid acceleration, and towing heavy loads can place extra stress on the transmission. Drive smoothly and avoid overloading your vehicle.
7. Power Steering Problems
Understanding the Power Steering System
In Mini Coopers, the power steering system has evolved over different models. Earlier models featured a hydraulic/electric system, while later models transitioned to a fully electric system. Regardless of the type, the power steering system is essential for providing smooth and responsive steering, making driving more comfortable and controlled.
Common Symptoms of Power Steering Pump Issues
- Whining or Squealing Noise: A common symptom of a failing power steering pump is a whining or squealing noise when you turn the steering wheel. This noise is often due to a lack of fluid or worn-out pump components.
- Stiff Steering: If you find it difficult to turn the steering wheel, especially at low speeds, it could indicate a problem with the power steering pump.
- Leaking Power Steering Fluid: If you notice power steering fluid leaking from the pump or lines, it's a clear sign of a problem. Low fluid levels can lead to pump failure in hydraulic systems.
- Power Steering Failure Warning Light: Some Mini Coopers have a warning light on the dashboard that indicates issues with the power steering system. If this light comes on, have your vehicle inspected immediately.
- Intermittent Power Steering Loss: If the power steering assistance cuts out intermittently, it could be due to a failing electric power steering pump or a problem with the electrical connections.
Causes of Power Steering Pump Issues
Several factors can contribute to power steering pump issues in Mini Coopers:
- Wear and Tear: Over time, the internal components of the power steering pump can wear out, especially in high-mileage vehicles.
- Fluid Contamination: In hydraulic systems, contaminated or low-quality power steering fluid can cause damage to the pump and other components of the steering system.
- Leaking Seals: The seals within the hydraulic power steering pump can degrade over time, leading to fluid leaks and reduced hydraulic pressure.
- Electrical Problems: For models with electric power steering pumps, electrical issues such as faulty wiring or connectors can cause intermittent or complete pump failure.
- Poor Maintenance: Neglecting regular maintenance, such as checking and topping up power steering fluid, can accelerate wear and lead to pump failure.
Addressing Power Steering Pump Issues
If you suspect your Mini Cooper has a power steering pump issue, it's essential to address it promptly to avoid further damage and ensure safe driving. Here's what you should do:
- Professional Diagnosis: Bring your Mini Cooper to a qualified German mechanic shop like TMJ Bimmers who specializes in these vehicles. They can perform a thorough inspection and diagnostic tests to confirm the issue.
- Power Steering Pump Replacement: If the power steering pump is found to be faulty, it will need to be replaced. This involves draining the power steering fluid, removing the old pump, and installing a new one.
- Fluid Flush: After replacing the power steering pump in hydraulic systems, it's essential to flush the power steering system to remove any contaminants and ensure optimal performance.
- Electrical System Check: For models with electric power steering pumps, ensure that the electrical system is thoroughly inspected. Address any wiring or connector issues to prevent future problems.
Preventive Measures
To minimize the risk of power steering pump issues, consider these preventive measures:
- Regular Maintenance: Adhere to a regular maintenance schedule, including checking and topping up power steering fluid as needed. Routine inspections can help identify potential issues early.
- Use Quality Fluid: For models with hydraulic systems, always use the recommended type and quality of power steering fluid for your Mini Cooper. Using the correct fluid helps prevent contamination and ensures optimal pump performance.
- Monitor Symptoms: Pay attention to any changes in steering feel, unusual noises, or warning lights. Early detection can prevent minor problems from becoming major repairs.
- Choose the Right Mechanic: Work with a mechanic who has experience with Mini Coopers. Their expertise can make a significant difference in diagnosing and addressing power steering pump issues effectively.
Regular Maintenance: The Key to Longevity
While Mini Coopers have their share of common issues, regular maintenance and timely repairs can keep your Mini running smoothly for years to come. Here are a few general maintenance tips:
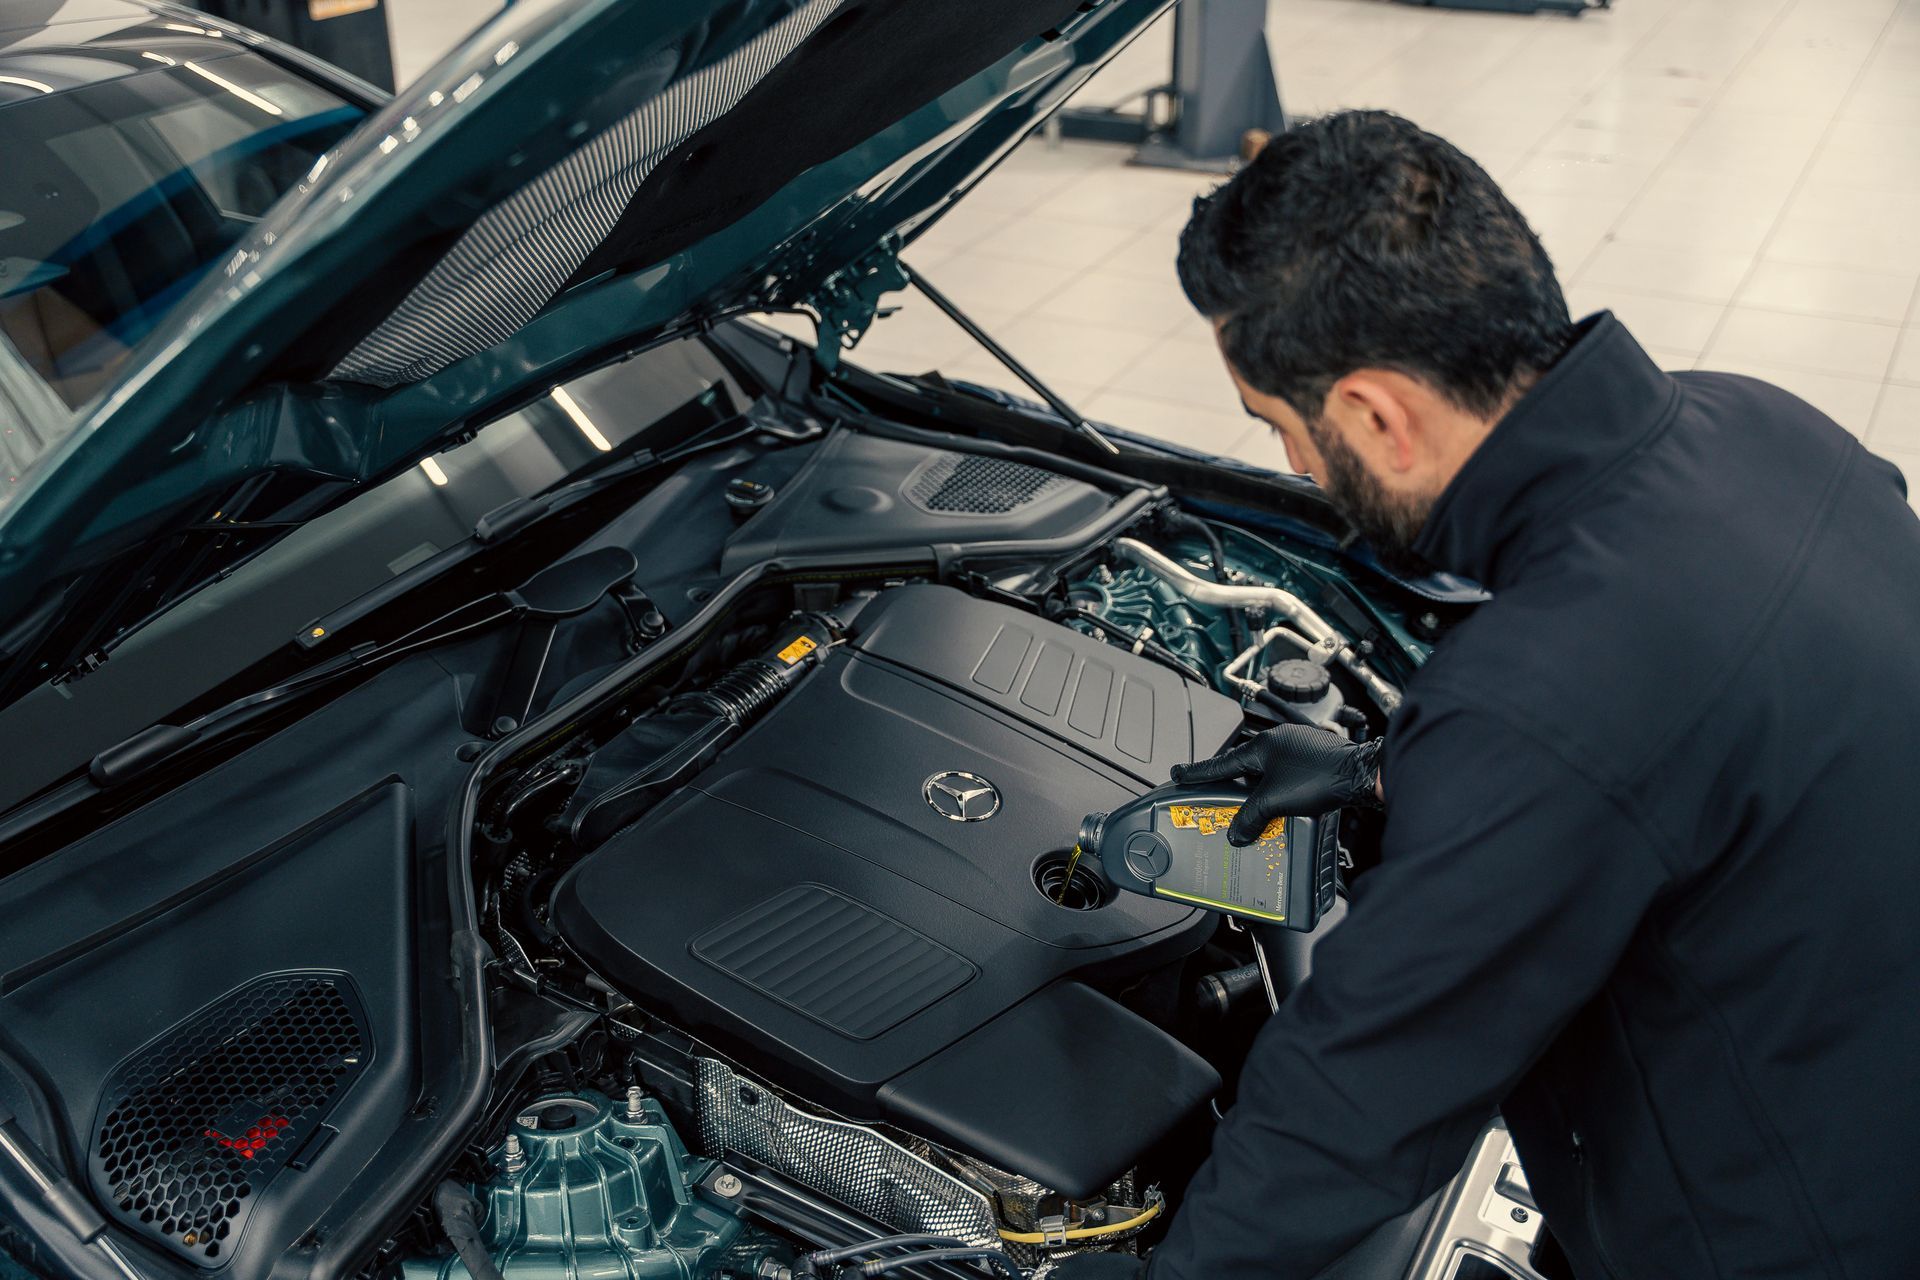
- Oil Changes: Stick to a regular oil change schedule to keep your engine lubricated and running efficiently.
- Brake Inspections: Regularly check your brakes for wear and tear to ensure your safety on the road.
- Tire Maintenance: Keep your tires properly inflated and rotate them regularly to ensure even wear.
Owning a Mini Cooper is a rewarding experience, and staying informed about potential issues can help you enjoy your car to the fullest. If you ever have any concerns or need expert advice, don't hesitate to call us here at TMJ Bimmers (713.384.2273). We're here to keep your Mini in top shape and ensure you have the best driving experience possible.