DIY BMW Maintenance: How to Replace Your Cabin Air Filter
DIY BMW Maintenance: How to Replace Your Cabin Air Filter
BMW ownership is about more than performance and driving dynamics. Comfort, air quality, and interior climate control are just as important to the driving experience. One of the most overlooked maintenance items that directly affects all three is the cabin air filter.
Replacing your BMW’s cabin air filter is one of the easiest DIY services owners can perform, yet it has a noticeable impact on air quality, HVAC performance, and even interior odors.
In this guide, TMJ Bimmers explains how to replace your BMW cabin air filter properly and when it makes sense to handle the job yourself.
What Does a Cabin Air Filter Do?
The cabin air filter cleans the air entering your vehicle through the heating and air conditioning system. It traps:
• Dust and pollen
• Road debris and pollutants
• Exhaust particles
• Mold spores and allergens
Every time you turn on your climate control system, air passes through this filter before reaching the cabin.
Over time, the filter becomes clogged, restricting airflow and reducing system efficiency.
Signs Your BMW Cabin Air Filter Needs Replacement
Many drivers don’t realize their filter is overdue because performance declines gradually. Common symptoms include:
• Weak airflow from vents
• Musty or unpleasant odors
• Increased dust inside the cabin
• Windows fogging more easily
• Louder HVAC fan noise
BMW typically recommends replacement every 12–15 months, but urban driving or heavy traffic conditions may require more frequent service.
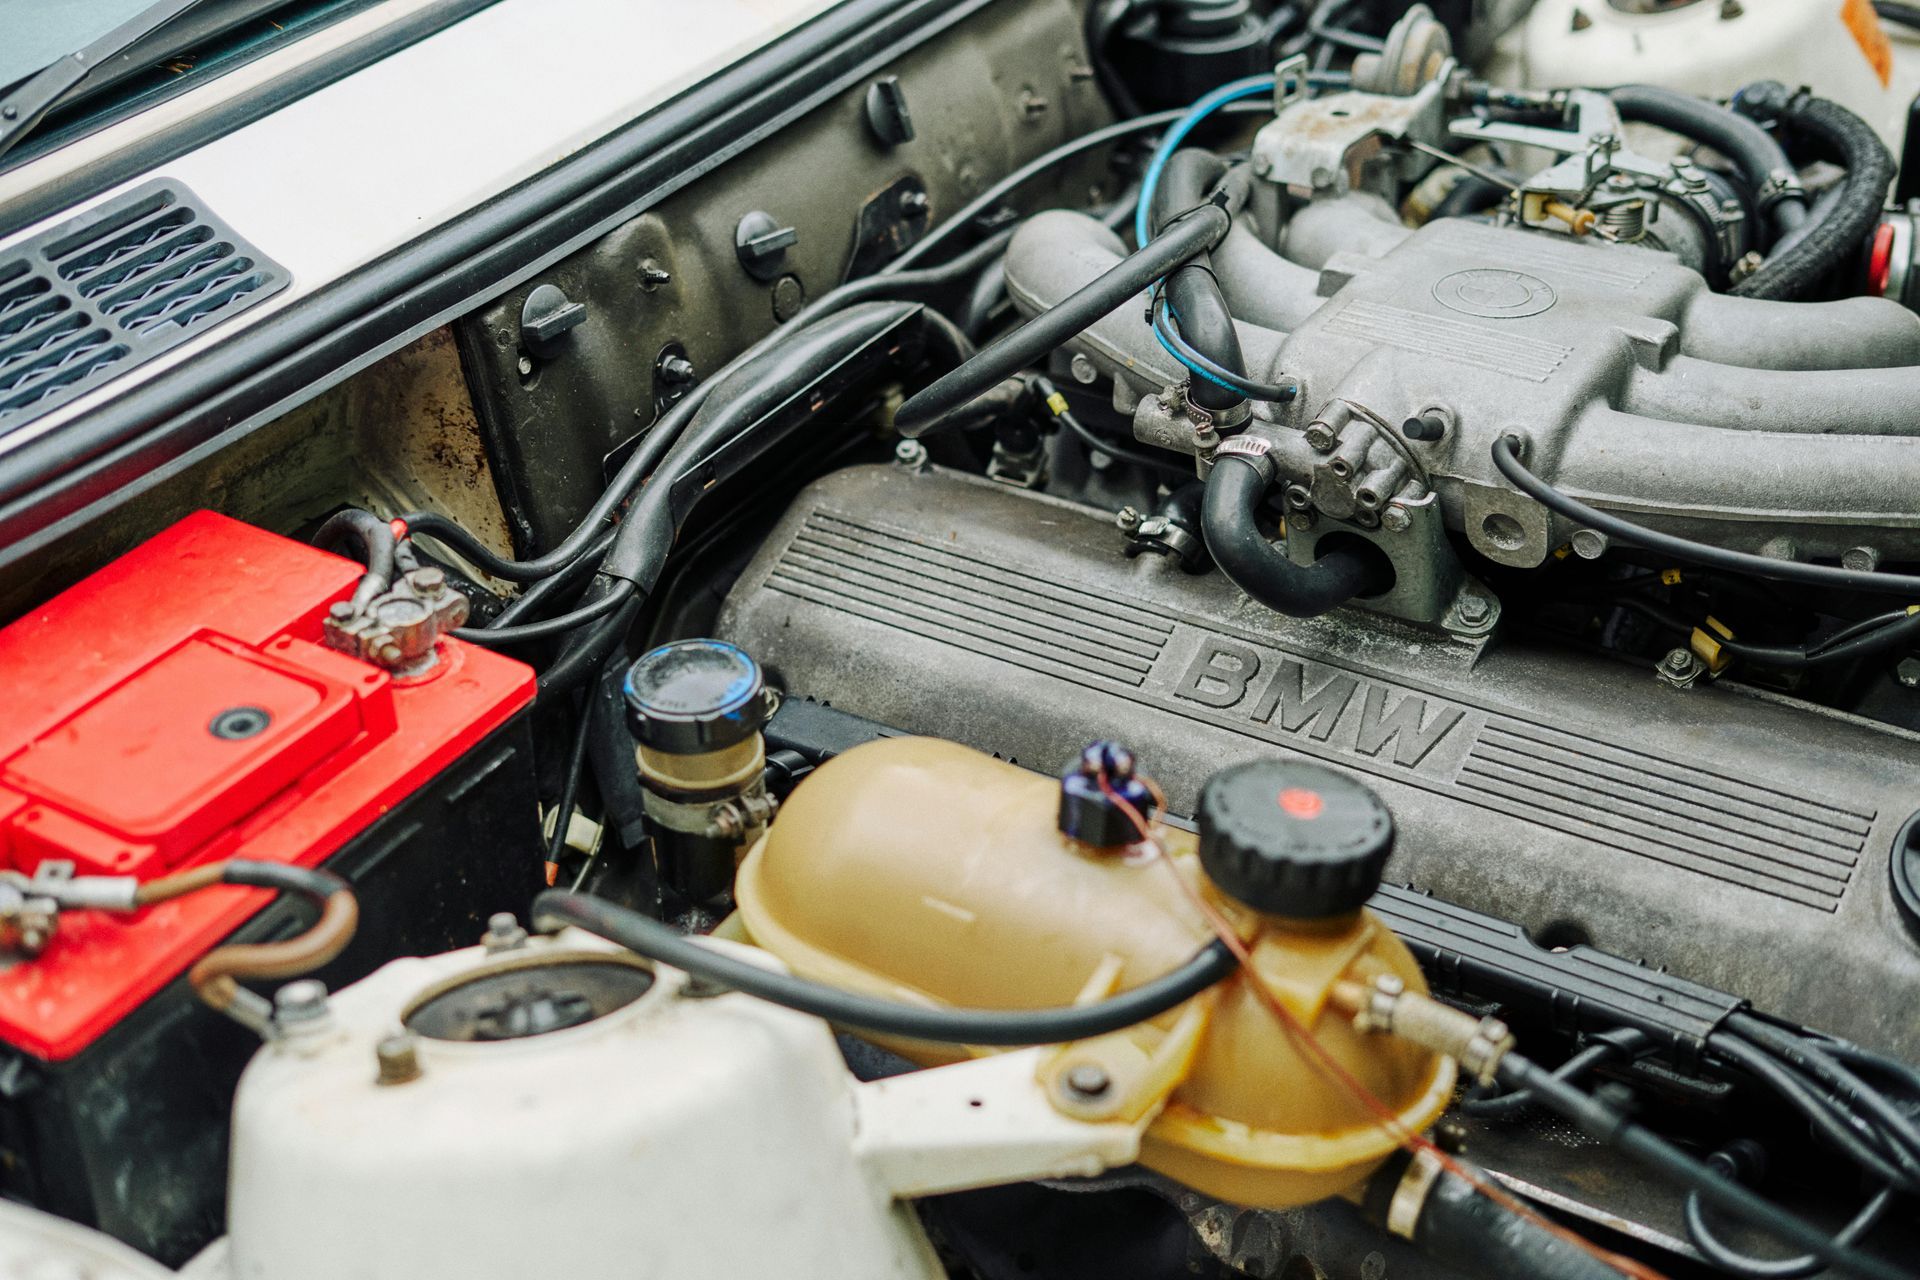
Where the Cabin Air Filter Is Located
Unlike many vehicles, most modern BMWs place the cabin air filter under the hood near the windshield cowl rather than behind the glove box.
Exact placement varies slightly by model, but the process is very similar across the BMW lineup including 3 Series, 4 Series, 5 Series, X3, and X5 models.
Tools You’ll Need
Most BMW cabin air filter replacements require minimal tools:
• Replacement cabin air filter (OEM or high-quality equivalent)
• Torx driver or small socket set (varies by model)
• Clean cloth or shop towel
No lifting or specialty equipment is required.
Step-by-Step: Replacing the Cabin Air Filter
Step 1: Open the Hood
Park on a flat surface, turn off the engine, and open the hood. Locate the plastic cowl panel at the base of the windshield on the passenger side.
Step 2: Remove the Filter Housing Cover
Release the clips or remove the screws securing the plastic cover. Carefully lift the housing cover to expose the cabin air filter tray.
Step 3: Remove the Old Filter
Slide the filter out slowly. Pay attention to the airflow direction arrows printed on the filter, as the new filter must be installed the same way.
You may notice leaves, dirt, or debris inside the housing. This is normal.
Step 4: Clean the Housing Area
Use a clean cloth to remove loose debris from inside the filter compartment. Keeping this area clean improves airflow and prevents odors.
Step 5: Install the New Filter
Insert the new filter with airflow arrows pointing in the correct direction, usually toward the cabin.
Ensure the filter sits evenly and fully inside the tray without bending.
Step 6: Reinstall the Cover
Reattach the housing cover and secure all clips or screws. Close the hood and start the vehicle to verify normal airflow.
Choosing the Right Cabin Air Filter
Not all filters are equal. BMWs benefit from higher-quality filters designed for advanced HVAC systems.
Recommended options include:
• OEM BMW filters
• Activated charcoal filters for odor reduction
• Anti-allergen or premium microfilters
Activated carbon filters are especially helpful for drivers in city environments or heavy traffic.
How Often Should You Replace It?
TMJ Bimmers recommends cabin air filter replacement:
• Every 12 months or 10,000–15,000 miles
• Before allergy season
• After heavy wildfire smoke or poor air quality conditions
• Whenever airflow noticeably decreases
Regular replacement helps your HVAC system operate efficiently and reduces strain on blower motor components.
When DIY Isn’t the Best Option
While cabin air filters are generally DIY-friendly, professional service may be better if:
• Plastic cowl panels feel brittle or damaged
• Fasteners are stripped or missing
• You notice water intrusion near the filter housing
• Persistent odors remain after replacement
These can indicate drainage or sealing issues that require inspection.
Why This Small Service Matters
A clean cabin air filter improves more than comfort. It helps maintain proper HVAC airflow, reduces system wear, and improves overall driving experience.
Many BMW owners are surprised how much quieter and stronger their climate system feels after replacement.
DIY Maintenance With Professional Support
At TMJ Bimmers, we encourage BMW owners to understand their vehicles and handle simple maintenance when they feel comfortable doing so. Preventative care like cabin air filter replacement helps extend vehicle life and keeps small issues from becoming large repairs.
When you prefer expert service, our BMW-specialized technicians inspect the entire HVAC and ventilation system during maintenance visits to ensure everything operates exactly as engineered.
Need BMW Maintenance or Inspection?
TMJ Bimmers provides BMW-focused service designed for long-term reliability and performance, including:
• Scheduled maintenance services
• HVAC system inspections
• Interior air quality solutions
• Preventative maintenance planning
• BMW factory-level diagnostics
Whether you enjoy DIY maintenance or want professional support, TMJ Bimmers is here to help keep your BMW performing at its best.